
Hey there, fellow campers! Whether you’re a weekend warrior or a full-time road nomad, there’s one thing we can all agree on: nothing spoils a good adventure like a leaky roof. Water damage is the bane of our recreational vehicles, and it can turn a cozy camper into a damp disaster. But fear not! I’m here to share some practical tips and tricks to keep your camper dry and snug, no matter what Mother Nature throws your way.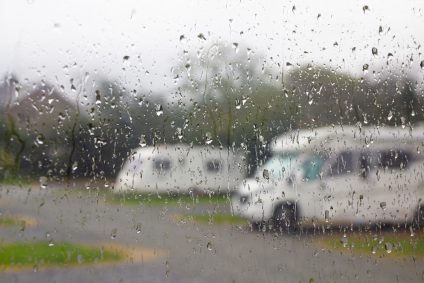
The Culprit: Roof Leaks
First things first, let’s talk about the enemy—roof leaks. These sneaky little buggers can start off as tiny drips but can quickly escalate into serious issues if left unchecked. Here are some common causes:
- Weather Wear and Tear: Your camper’s roof takes a beating from the elements—rain, snow, sun, and wind can all lead to cracks and leaks over time.
- Poor Sealing: Over time, the seals around vents, skylights, and air conditioners can degrade, letting water seep in.
- Physical Damage: Low-hanging branches, hail, or even those times you misjudged a clearance can cause dings and damage.
Spotting the Signs
Early detection is key to preventing major water damage. Keep an eye out for:
- Stains and Discoloration: Check the ceiling and walls for any discoloration or water stains.
- Soft Spots: Press gently on your walls and ceiling—soft spots indicate water damage beneath the surface.
- Mold and Mildew: A musty smell or visible mold is a clear sign that water has infiltrated.
Fixing the Problem
Got a leak? Don’t panic. Here’s a step-by-step guide to patching things up:
- Find the Source: Trace the leak back to its origin. Sometimes water travels along beams and seams, so the source might not be directly above the damage.
- Clean the Area: Before you start any repairs, make sure the area is clean and dry. Remove any old sealant or debris.
- Apply Sealant: Use a quality RV roof sealant to patch up cracks and reseal vents and edges. Apply it generously and evenly.
- Reinforce if Needed: For larger areas, consider using roof repair tape along with the sealant for extra durability.
- Check Your Work: Once everything’s dry, give your roof a once-over to ensure the leak is truly sealed.
Preventive Measures
The best offense is a good defense. Here are some tips to keep your roof leak-free:
- Regular Inspections: Give your roof a thorough check at least twice a year, and after any major weather events.
- Clean Your Roof: Keep it free of debris, leaves, and branches that could cause damage.
- Maintain Seals and Caulking: Check and reseal as needed to prevent any cracks from developing.
Final Thoughts
Dealing with roof leaks and water damage can be a headache, but with a little vigilance and regular maintenance, you can keep your camper in tip-top shape. After all, a dry camper is a happy camper, and there’s no better way to enjoy the great outdoors than in a cozy, leak-free home on wheels. So next time the clouds roll in, you can sit back, relax, and know that you’ve got this covered—literally!
Happy camping, everyone! 🏕️
I hope you find these tips helpful! Safe travels and keep that camper dry!